
Fly Fishing 101: Learning to Fish Dry/Dropper Rigs

IMAGE: Weekender Media
Out of all the possible rigs you could tie onto the end of your tippet, the dry/dropper setup is easily my favorite. Also called a ‘hopper/dropper’ by some, the dry/dropper rig consists simply of a dry fly connected to a nymph with a short piece of tippet. By fishing a dry fly and a nymph at the same time, you gain the ability to cover different stages of an insect hatch simultaneously.
For example - let’s say you’re fishing the salmonfly hatch on the Colorado River. You’re seeing rising trout here and there, but the majority of the feeding activity is taking place below the surface. Instead of focusing exclusively on the adult salmonflies on the surface, or only on the sub-adults rising up from the riverbed, you can imitate both stages in the life cycle with one setup. 2 birds, 1 stone; if you will.
To fish a dry/dropper rig, here’s all you need to do:
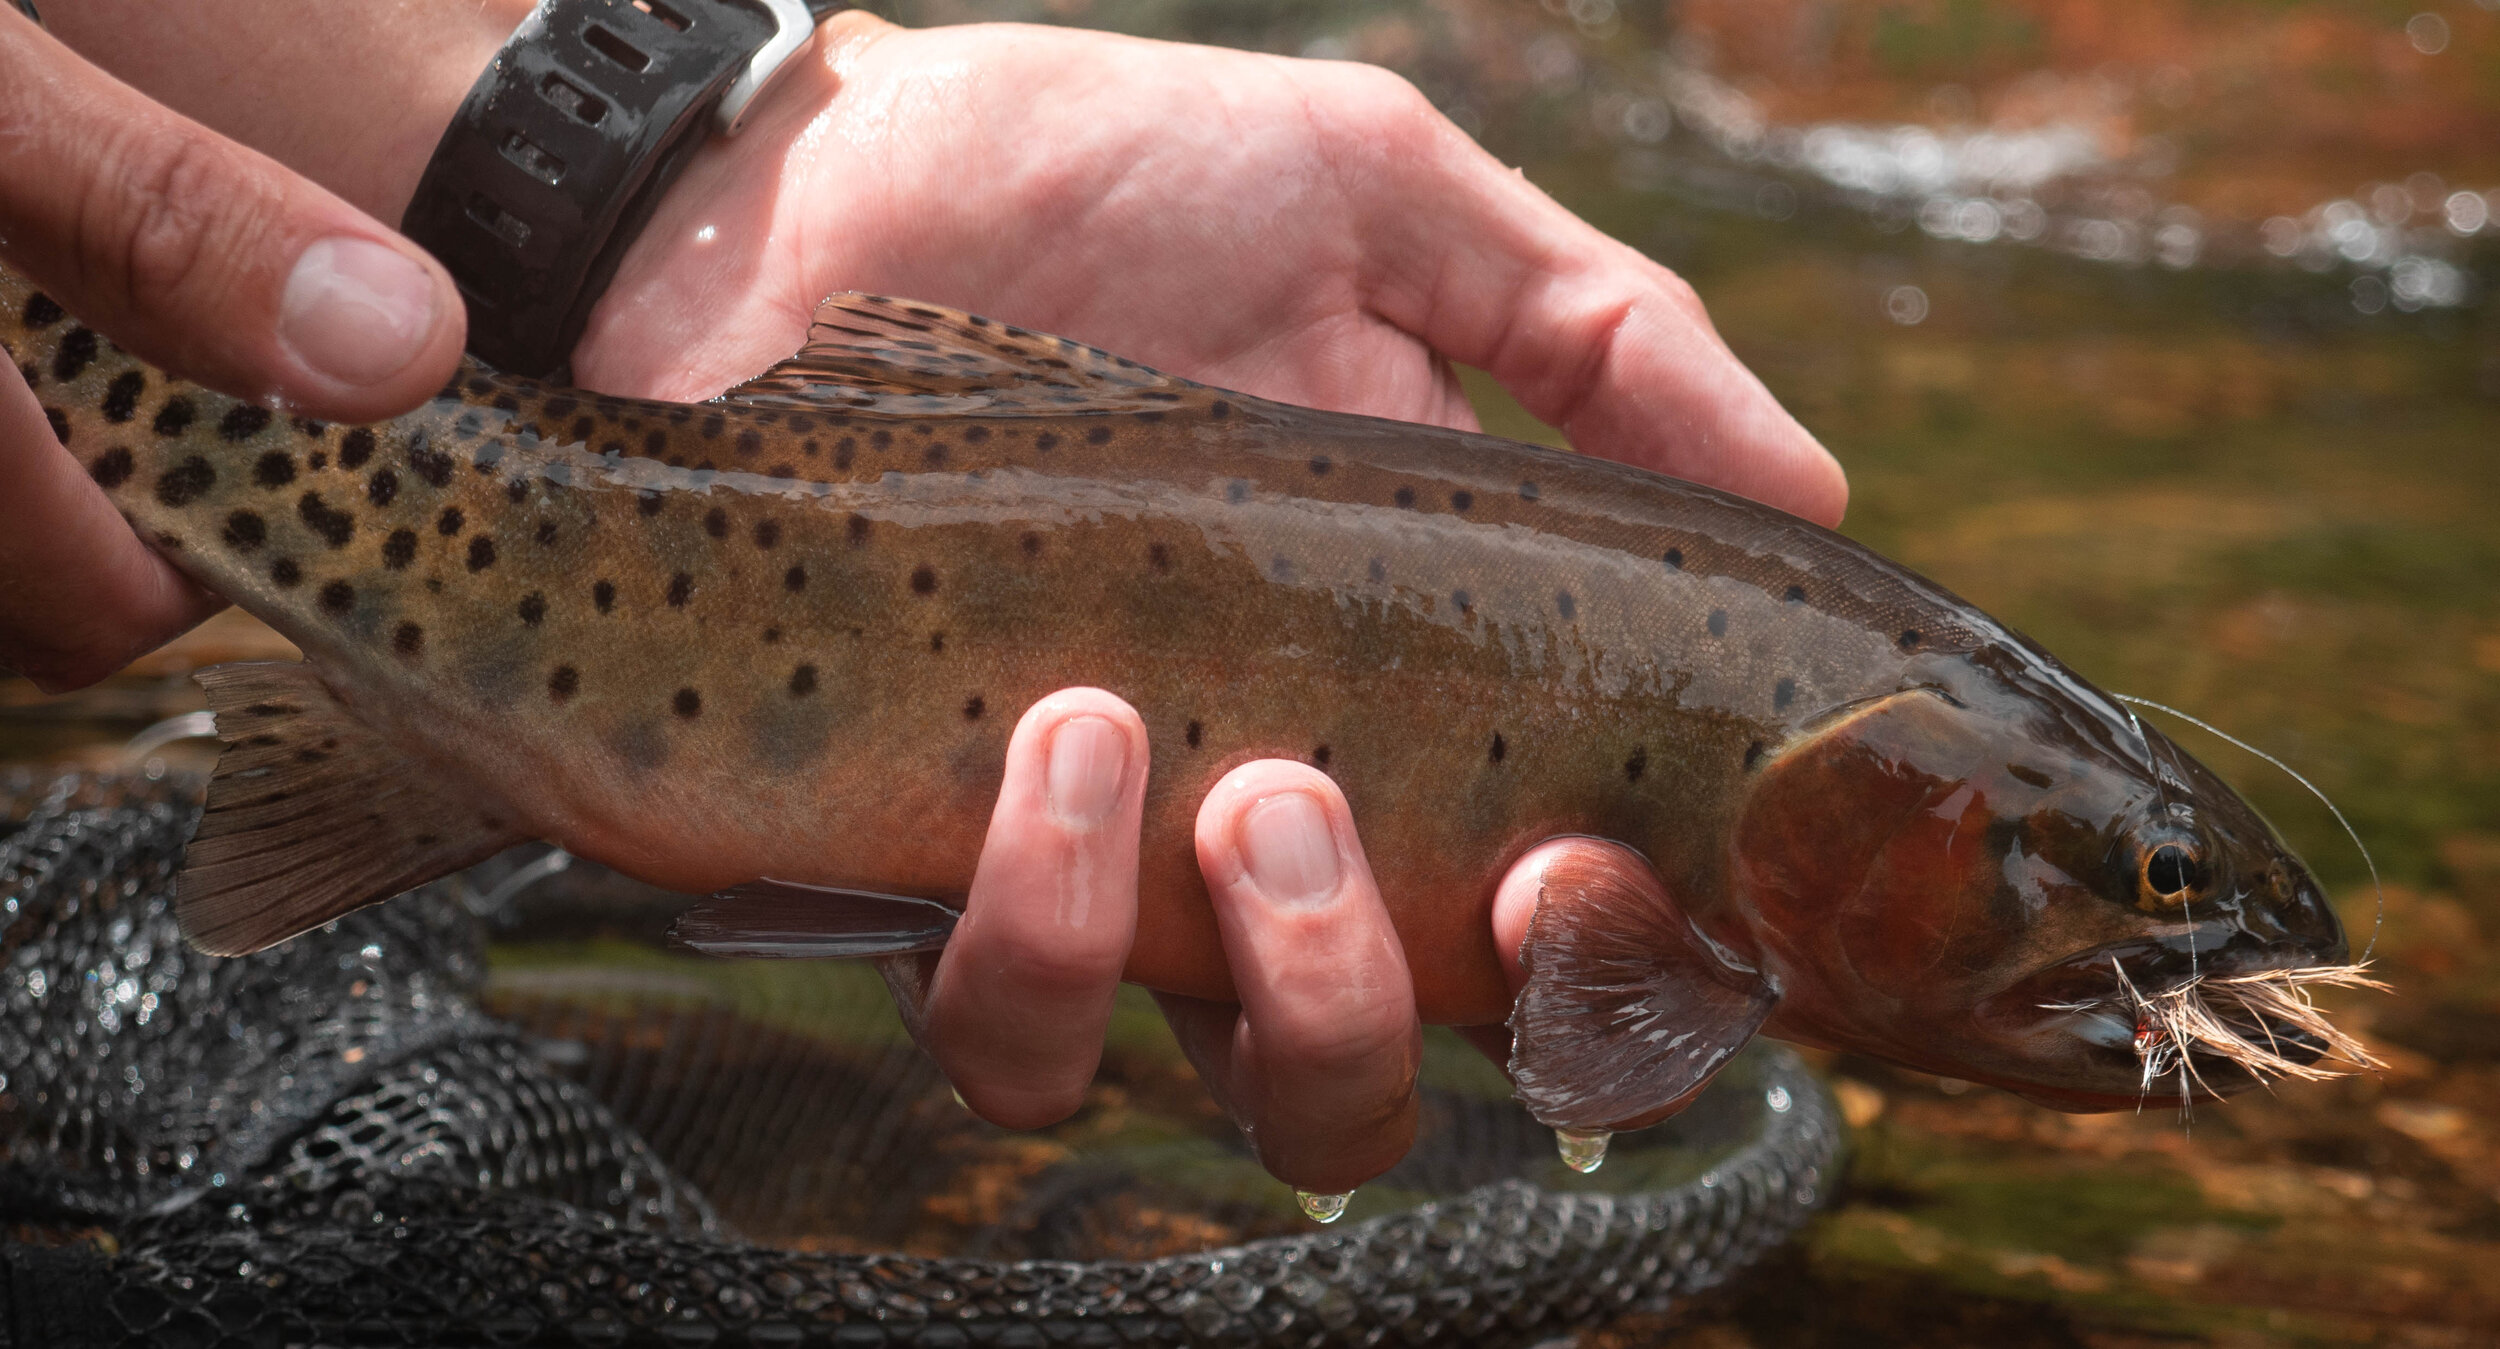
IMAGE: Weekender Media
#1 Choose your flies - Pattern selection is entirely contingent on the water you’re fishing and the time of year you’re fishing it. If you’re on the South Platte on a cold day in January, the dry fly may be a small adult midge connected to tiny baetis nymph. But if you’re on the upper Arkansas on a balmy summer day, the dry fly will probably be something more like an Elk Hair Caddis, attached to an emerging caddis nymph like a Holy Grail. To get the most out of your dry/dropper rig, you can either try to match the hatch, or tie on gaudier, flashier patterns that are sure to grab the attention of resident trout.
#2 Rig it up - Off your leader, you’ll want a section of nylon tippet (sized to match the size of the fly) attached to the dry fly. After tying on the dry, attach a piece of fluorocarbon tippet to the bend of the hook. The length of the tippet will vary based on the water you’re fishing, so it’s best to start with 12”-24” of fluoro and keep adjusting until you find that sweet spot where fish are feeding. On the other end of your tippet, tie on your nymph. For anything bigger than a #16, I like to use a standard clinch knot. But if that dropper is an #18 or smaller, I like to use a non-slip loop knot to maximize the pattern’s range of motion as it tumbles through the water column.

IMAGE: Weekender Media
#3 Pick your spots - When fishing dry/dropper rigs on creeks and rivers, you’re going to have the best luck targeting the banks and riffles during warm months. Trout near the banks are readily waiting for grasshoppers, ants, beetles, etc. to fall into the water. During the hottest parts of the day, trout will push into the riffles, which makes having a heavy dropper that will sink quickly important. In colder weather, your best bet is to target slow moving pools. Making a perfect drift when fishing these pools is vital, as trout will have time to slowly rise and investigate your flies before making the decision to eat.
When fishing dry/dropper rigs on lakes and ponds, it’s a different game. Generally, the trout will be hanging around structure to avoid being picked off by aerial predators - think boulders, downed trees, etc. They will also hang out under overhanging trees, which provide them with a place to hide from the sun and forage for falling insects. That said, there are no strict rules. Trout will cruise the shallows in inches of water, but they’ll also eat dry flies out in the middle of a deep lake - and everything in between. Instead of spending as much time picking spots as you would on creeks and rivers, allocate more time to spreading your casts around and experimenting with depth.

IMAGE: Weekender Media
#4 Test & Learn - Just like with any other fly fishing tactic, fishing dry/dropper rigs is a ‘test & learn’ process. Meaning, simply, the best way to master the art form is by doing it. Experiment with different depths, drifts, fly selections, tippet sizes/lengths, weights, etc. until you find what works best for the situation in which you find yourself. There is no ‘one size fits all’ solution, but instead there are thousands of solutions that you can adapt to make work for you.